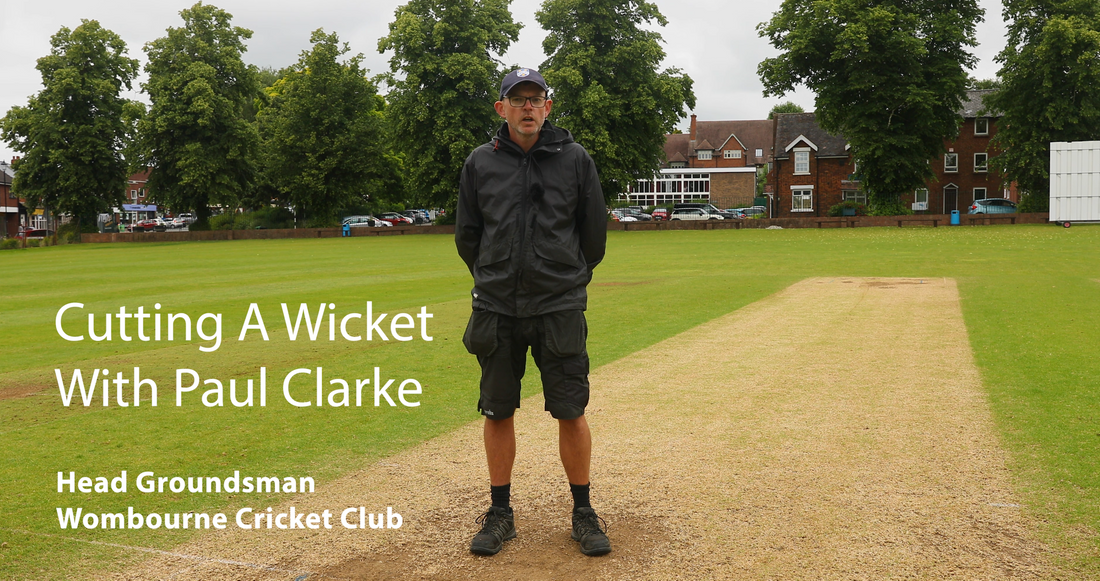
Hi, I'm Paul Clarke, the groundsman at Wombourne Cricket Club. Today, I’ll take you through the essentials of cutting a cricket wicket to get it ready for a match, aiming to produce a wicket with consistent pace and carry, no unevenness and a unified colour and cut that looks great on camera.

Equipment and Initial Preparations
Mower Choice: We use a 20-inch cylinder mower for cutting the cricket wicket. This mower provides a finer cut compared to rotary mowers ensuring a smoother, more even surface. It’s fitted with a 10-blade cylinder to deliver more cuts per metre which results in a finer finish.
Cutting Height:
- Square Cut: Maintain the square at around 13 mm, adjusting based on weather conditions.
- Wicket Preparation: When preparing the wicket for a match, reduce the cutting height to 9 mm. Keep it at this height for 7 to 10 days leading up to the game mowing every two to three days to maintain this height. The day before match day you can cut to your match height of 6mm, and again on match day morning.
Additional Maintenance: Between mowing's, consistently brush and roll the wicket. This stands the grass up, allows it to dry out and improves air circulation around the grass blades.
Cutting Schedule Leading Up to the Game
- Monday: Cut the wicket to 9 mm. This initial cut sets the stage for consistent maintenance.
- Wednesday: Cut again to maintain the 9 mm height. Regular mowing ensures the grass remains at the desired height and promotes even growth.
- Friday: Perform the penultimate cut reducing the height to 6 mm. This cut helps transition the wicket from green to white giving it the professional look needed for match day.
- Saturday (Match Day): Conduct the final cut at 6 mm. This ensures the wicket is at its optimal height for play, providing the right balance of carry and bounce.
Technique and Best Practices
- Consistent Direction: Always mow up and down the same spot avoiding stripes. This ensures a unified cut and a consistent appearance.
- Brushing: Before each cut of the wicket brush the grass to stand the blades up. This allows for a cleaner cut and a more uniform finish.
- Rolling: Regular rolling helps compact the wicket ensuring a harder surface and better ball response.
Final Considerations
Grass Height and Playability:
- Less Grass: Reduces carry and bounce but can create a faster wicket.
- More Grass: Increases carry and bounce but can slow the wicket down. Finding the right balance is key to producing an optimal playing surface.
Personal Preferences: While 6 mm works well for us at Wombourne other groundsmen may prefer slightly different heights. The important thing is to know your wicket and adjust accordingly to achieve the desired playing conditions.
Final Adjustments: On the final cut days (Friday and Saturday), reducing the height from 9 mm to 6 mm gives the grass plant a bit of a shock helping to change the colour and prepare the wicket for the game.
By following these guidelines, you can prepare a cricket wicket that performs consistently, looks professional and provides an excellent playing surface for both batsmen and bowlers. If you have any comments or questions, please feel free to leave them below.
Happy wicket prepping!